
Better films every fortnight. Subscribe to Syrp Lab YouTube.
So you’ve decided to build your own studio – great! You’ve got your tools, the perfect space and a seemingly bottomless supply of optimism. What could go wrong?!
That’s exactly where we found ourselves here at Syrp last year when we decided to build our own Cyclorama studio… from scratch.
We spent a bunch of time working out all the details and over the next couple of weeks, our studio came together. It’s definitely no easy task, but with some patience and planning, you can get incredible professional results on a modest budget.
Not to worry about all the finer details because we’ve packaged it all up into a PDF plan which is downloadable. Simply scroll to the end to access the free plans!
Right, let’s jump in to it!
Wait… what is a cyc?
You may have heard the word Cyc or cyclorama thrown around by your local independent production house, small studio or film nerd; but what are they? The Cyclorama has a long history in the making of films, and dates back to the theatre. A cyc was a large curved wall and allowed the theatre set designers to use colour and light to give the impression of a sky indoors. While still suitable for this purpose today, most Cycs you’ll find are either white or chroma green.
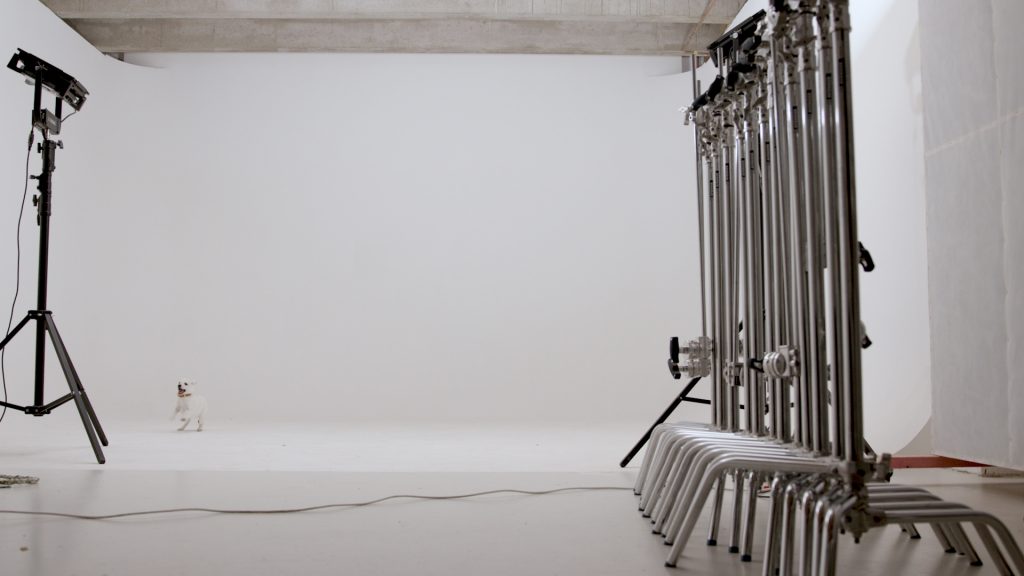
In essence, a cyc is a studio area that has a seamless infinity curve over one or more joins, eliminating shadows and giving the impression of an endless void. When painted white, this is a great base for a set and allows for a simple, clean environment to shoot on that looks much bigger than it is. When painted chroma green, the shadow-less surface is perfect for VFX heavy shots as the background is easily keyed.
For our studio, we’ll be building a three-walled white cyc. We selected this as we had the perfect space in our office basement and it will give us the greatest versatility for shooting quick tips, overview videos and all the other pieces we create in house at Syrp.
When tackling this build, you could go commercial with expensive, vacuum-formed or fibreglass Cycs; but these are often cost prohibitive. Instead, we decided on a ply, mdf and drywall version that is possible to install yourself, all with materials and tools found at any local hardware store.
Before you jump head first into production, read the full guide, watch the video and download our free plans provided at the bottom of this article. You’ll save yourself a massive amount of time and money avoiding any issues we ran into.

Let’s Build Some Walls
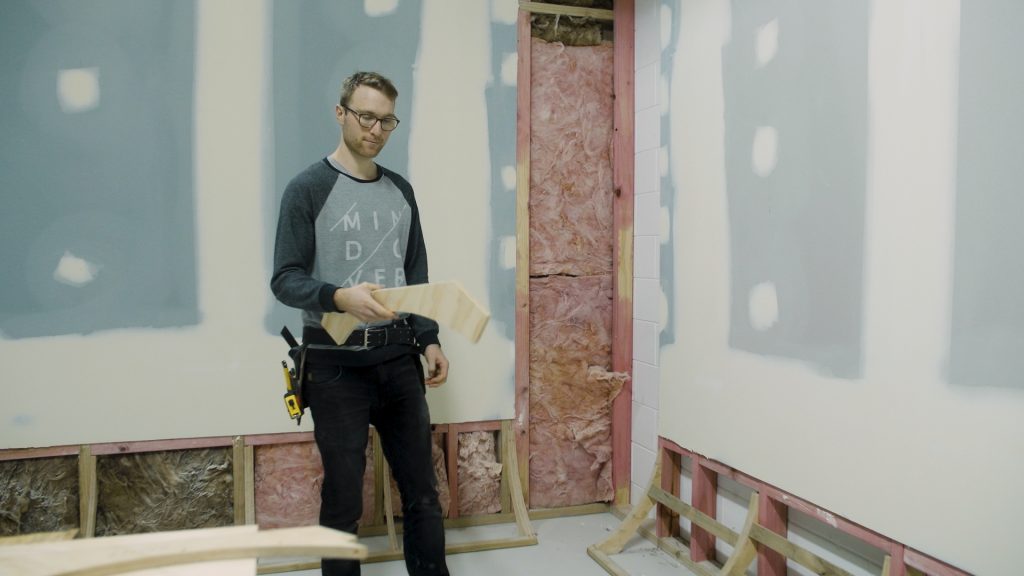
First step is to survey your space. Feel the space, touch the space, become one with the space… you’ll to be spending a lot of time here over the coming weeks. First take a look at your walls, are they block, concrete or drywall?
If they’re drywall (Plasterboard in the UK, Jib in New Zealand and Australia), you’re in luck. Affixing ribs will be the easiest to these walls. Skip this section and head right to the ribs.
Still here? You’ve got a block wall. As these are hard to drill into, you’ll need to construct a frame that sits within your existing wall. You can do this using a standard plan and a 2x4s. Be sure to place regular studs, and if you’ve never done this before – consult a builder. Once in position and secured, line with drywall, stopping the rib height from the floor (in the case of our plans, 400mm). Make sure to fill and sand any screw holes until smooth as any bumps, ridges or holes will ruin the infinity effect of the cyclorama. Make sure everything is secured according to your local building codes – the last thing you want is for a sheet of drywall to fall mid shoot and land on your gear or crew!
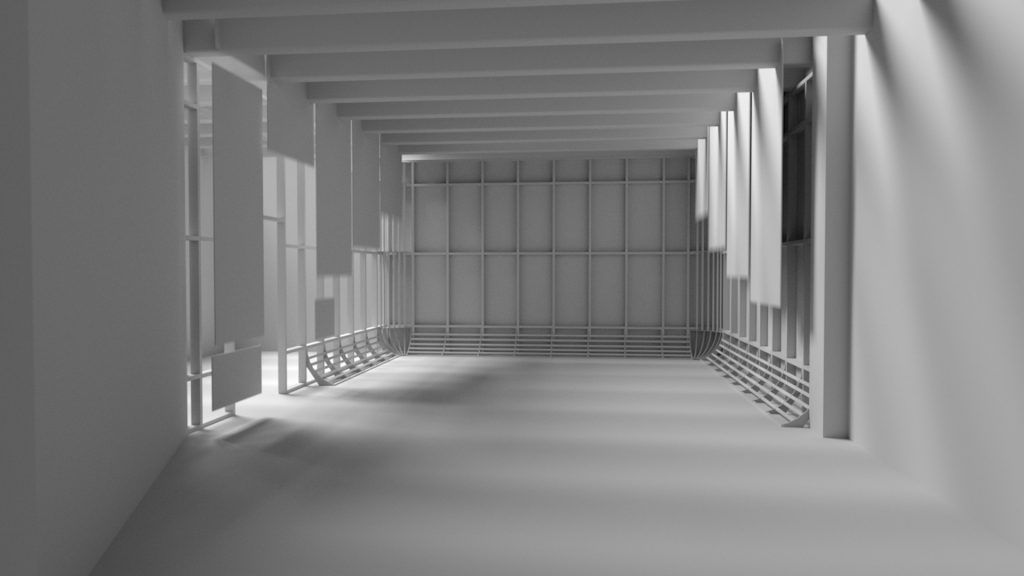
A Note about Curves
So here’s the tricky part. One curve is achievable; two curves less so. To avoid hours of extra work, we recommend limiting yourself to a one wall cyc. Otherwise, you’ll need to calculate and constrict a complex curve – one that bends on 2 axes simultaneously. If you chose to go ahead and do a complex curve, watch the video for some helpful stills. You’ll need to calculate this curve yourself and run many, very accurately cut ‘pizzas’ of MDF in the next step. You have been warned…
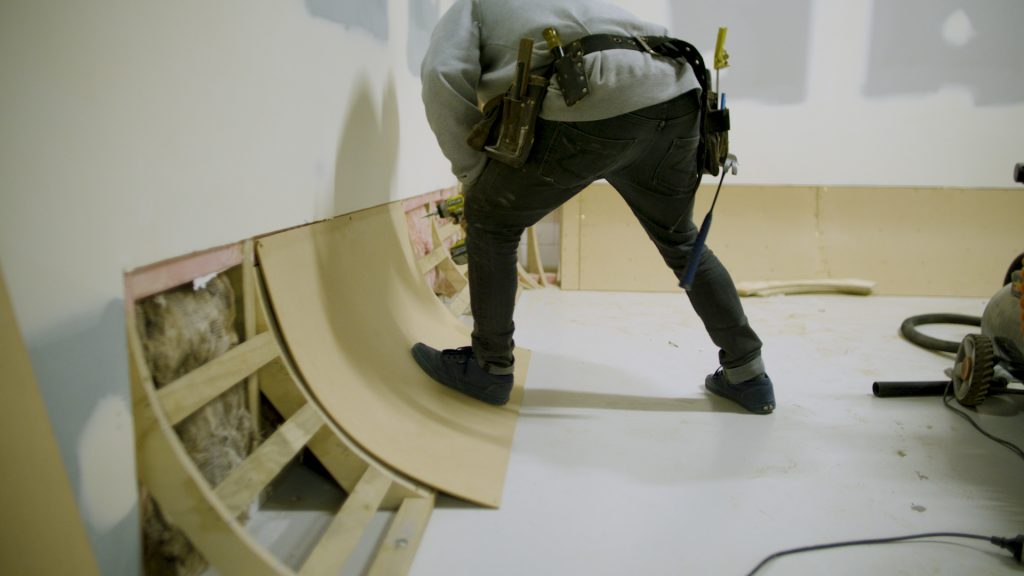
Once all your ribs are in position and braced, it’s time to cover with MDF. We used 2 sheets of 3mm MDF as it’s the balance between flexibility and strength. Its best to use 2 sheets in a lamination as this will hold the curve better and butt up closer to the wall and floor, minimising plastering and sanding later.
To do this, screw down the first sheet of 3mm MDF, bent into the curve and cover with wood glue. Once tacky, place the second board on top and bend it into the curve, screwing it down also. Repeat this until your entire curve is complete.
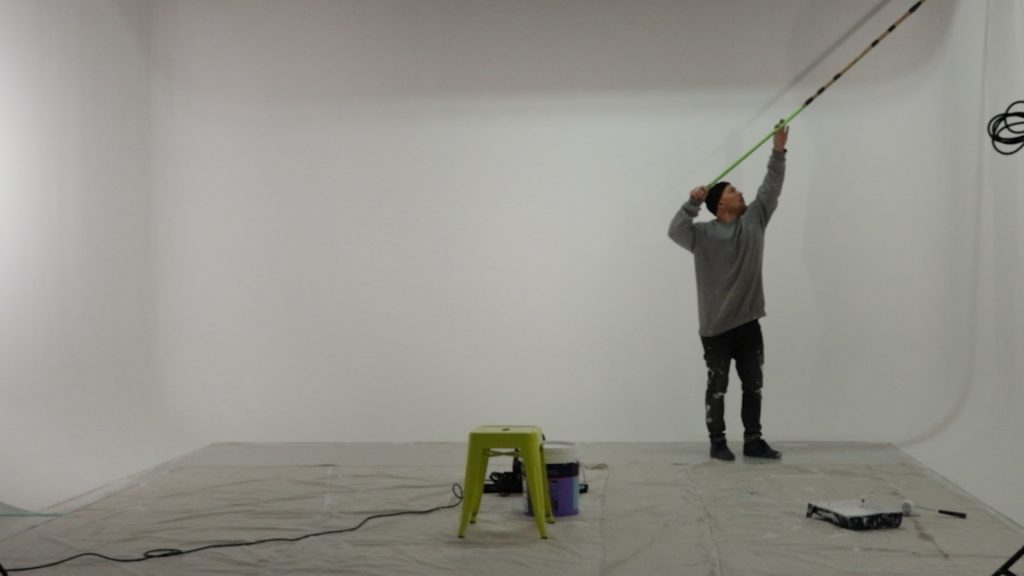
Finishing the job
It’s coming together but now it’s the home stretch – the finishing touches that will separate a professional result from an amateur home studio. We’ll be covering all the joints and screw holes with Gib to get a smooth, seamless surface. Break out the fiberglass gib-stopping tape, cover with plaster, sand until smooth and paint everything flat white. Don’t use gloss! A completely matt white ceiling paint means you’ll avoid reflections off the curve that would reveal the effect. When doing your finishing, take your time and be sure to follow correct safety procedures such as proper ventilation and dust management.
All Done!
Congrats! You now have a stunning white Cyc ready to shoot portraits, tutorials, YouTube videos or full on commercials! Hopefully we’ve covered all the basics but remember to consult with a local builder or tradesperson and ensure your construction follows local laws.
Like to build a Cyclorama for your studio?
We've made our complete plans available to help you, just follow the below link to our build guide with template printouts.